When it comes to applying for a US visa, one of the most important requirements is the photo. A clear, professional-looking photo is crucial because it could make or break your visa application. But don’t worry, you don’t need to hire an expensive photographer to get the perfect photo. With a US visa photo editor, you can easily edit and transform a simple photo into one that meets all the official requirements. In this article, we will guide you step by step through the process of editing a US visa photo, share the key editing tips, and help you understand the essential aspects of a visa photo. So, let’s dive right in!
What is a US Visa Photo and Why is it Important?
A US visa photo is an essential component of the visa application process. It’s not just any photo you can snap quickly; it must adhere to very specific and strict guidelines set by the US Department of State. These guidelines ensure that your photo is clear, properly framed, and meets the technical specifications required for official documentation. Essentially, the photo serves as a formal identifier for you, the applicant, and will be used in various documents, including your visa and even your passport.
Given its importance, a photo that doesn’t meet the required standards can cause significant delays or, in some cases, outright rejection of your visa application. You might think that taking a simple selfie or a casual photo would suffice, but in reality, such images often don’t meet the specific size, background, and other essential requirements. This is why it’s critical to follow all the guidelines exactly to avoid any setbacks in your visa application process.
The photo you submit for your US visa will also appear on your visa document itself. This means that it needs to be professional and easily recognizable as you, ensuring that the consular officer can confirm your identity quickly and easily. A blurry, improperly lit, or incorrectly framed photo could confuse the officer or give a wrong impression about your application, making the process longer and more complicated.
In addition, the visa photo will become a permanent part of your record with the US government, meaning it could potentially be used for identification purposes throughout your stay in the United States. For these reasons, it’s crucial to ensure that your photo meets all the official specifications, to avoid any unnecessary hassles or complications down the line.
Key Requirements for a US Visa Photo
Before diving into the editing process, it’s important to understand what the US Department of State specifically requires for a visa photo. Here’s a detailed checklist to help guide you through the essential specifications:
- Size: The photo must be precisely 2 x 2 inches (51 x 51 mm), with the head and shoulders occupying the correct portion of the frame.
- Head Position: Your head should be centered in the photo. It needs to cover about 50-69% of the height of the photo. Specifically, the distance from your chin to the crown of your head should be between 1 to 1 3/8 inches.
- Background: A plain white or off-white background is a strict requirement. There should be no shadows, patterns, or objects behind you. The background must be uniform and not interfere with the clarity of your face.
- Expression: A neutral expression is a must for a US visa photo. You should neither smile nor frown. Your mouth should be closed, and your face should be neutral to help ensure you look natural and easily identifiable.
- Eyes: Your eyes must be wide open and clearly visible in the photo. Glasses are not permitted in the photo. If you normally wear glasses, you must remove them before taking the picture. Ensure there are no reflections or tinted lenses obstructing the visibility of your eyes.
- Clothing: You are required to wear standard, everyday clothing. Avoid wearing uniforms, camouflage clothing, or any attire that could make the photo look unprofessional or difficult to identify. Bright colors and patterns should be avoided as they can distract from your face.
- Headwear: Head coverings or hats are generally not allowed, unless you wear them for religious reasons. If you do wear headwear for religious purposes, make sure your face is fully visible from the bottom of your chin to the top of your forehead and both edges of your face. The headwear should not obscure your face or cast any shadows.
- Lighting: Proper lighting is crucial for ensuring that your photo is clear and properly lit. Avoid shadows or harsh lighting that can obscure any features of your face. Make sure that the light illuminates both sides of your face evenly.
- Color: Your photo must be in color, not black and white, to meet the official requirements. The colors should be true to life, providing a realistic representation of how you look.
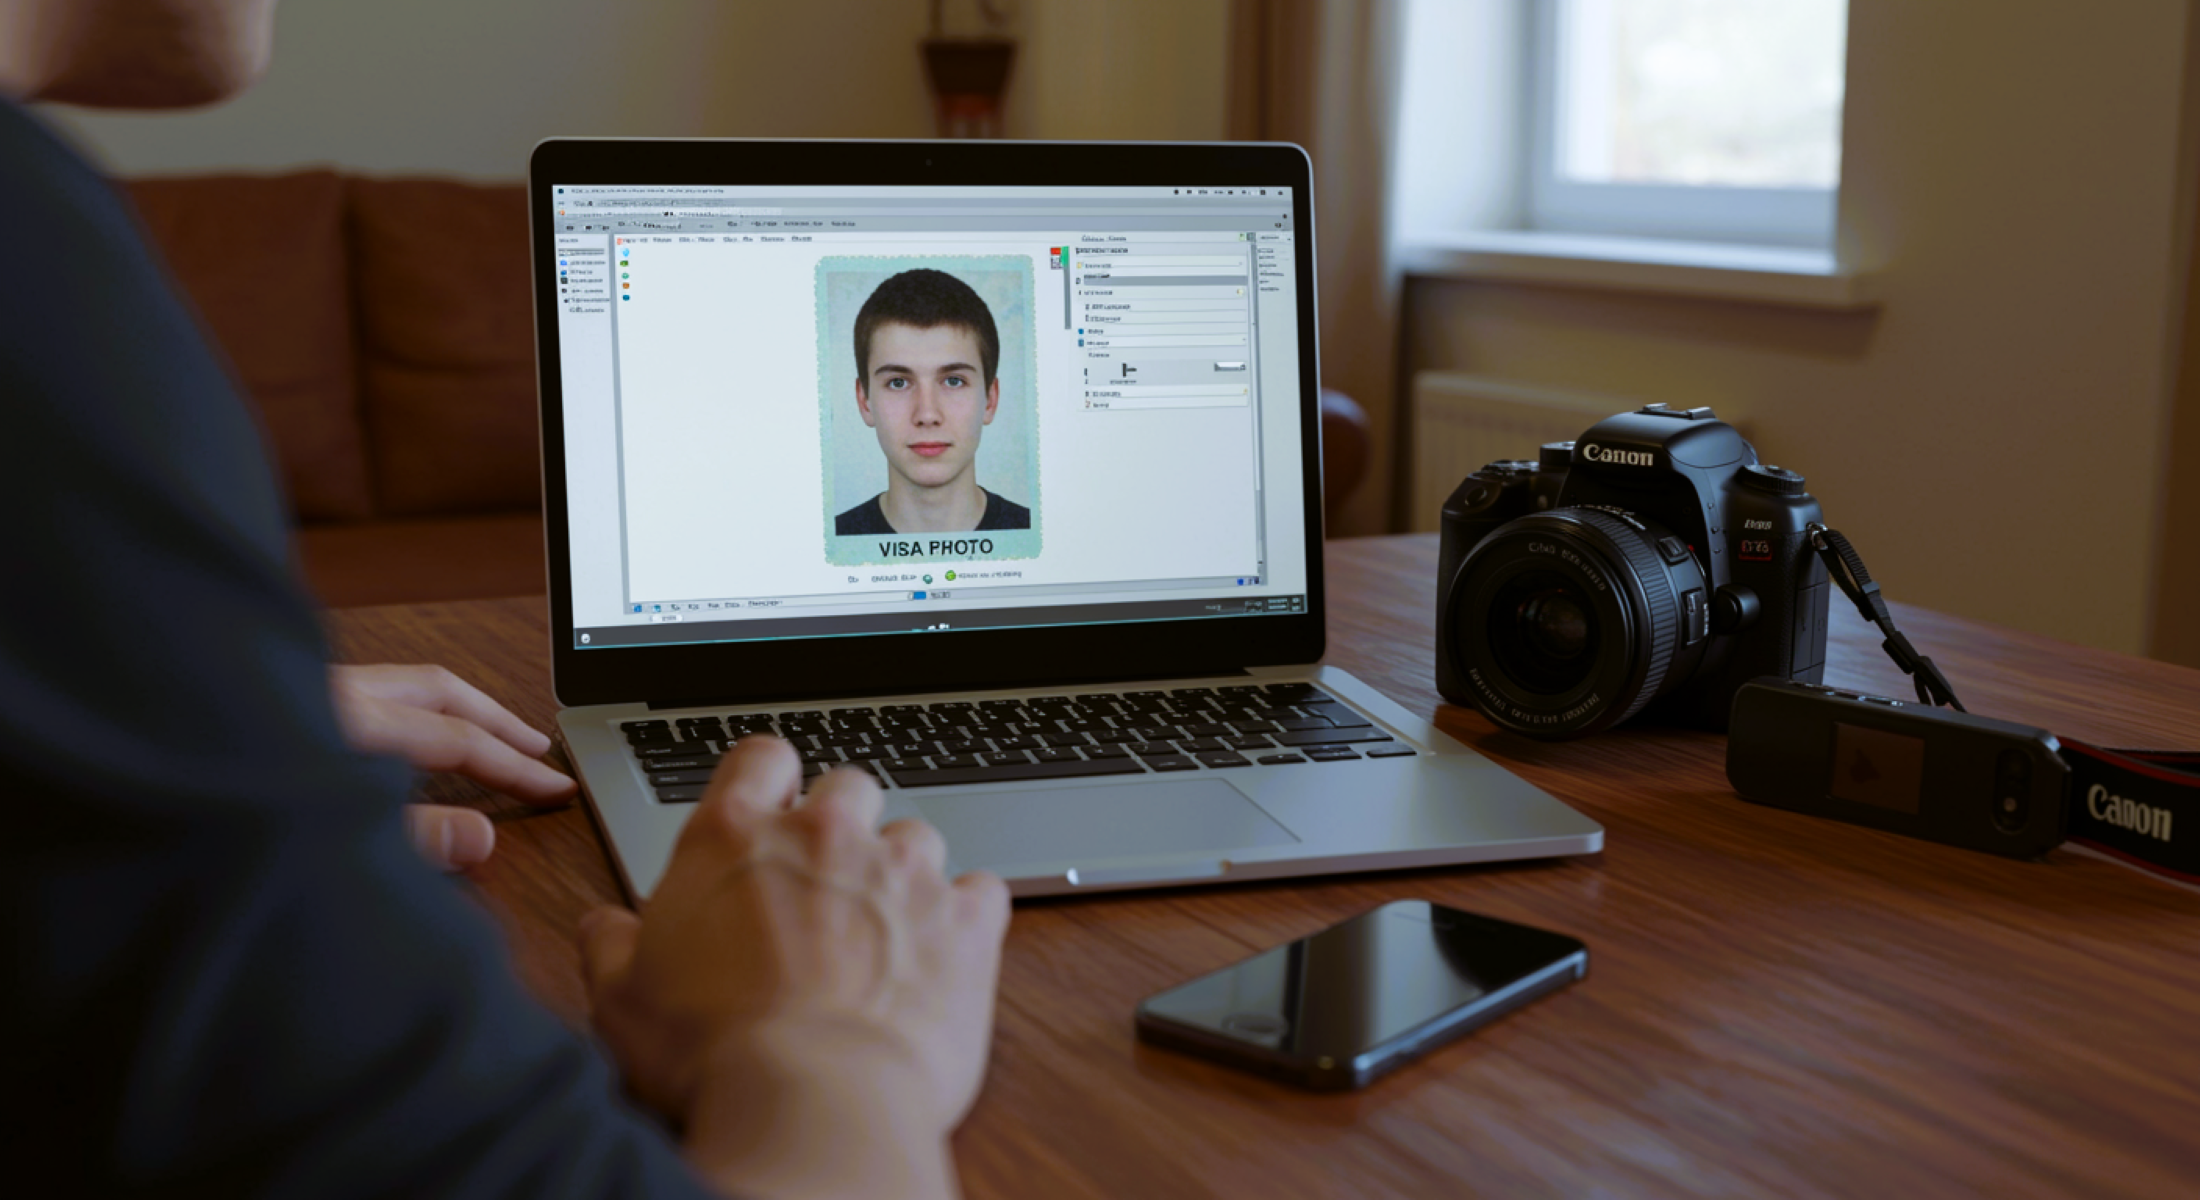
Why Use a US Visa Photo Editor?
| Feature | Description | Benefit | Example | Importance |
| Ensures Accuracy | Automated editors check the photo against official size, background, and lighting requirements. | Automatically ensures your photo adheres to all specifications. | Instant feedback on background color and head size. | Avoids mistakes, ensuring your photo is accepted without delays. |
| Saves Time | Editing tools allow for quick adjustments without needing to retake the photo multiple times. | Saves time by letting you fix any issues immediately. | Adjust head size, background color, and expression with a few clicks. | Eliminates the need for multiple attempts at taking the perfect photo. |
| Cost-Effective | Using a photo editor means you don’t need to pay for a professional photographer. | Cuts costs significantly by providing an affordable alternative. | No need to spend money on photography services. | Helps save money while still meeting all the official requirements. |
| Simple to Use | Most visa photo editors are user-friendly, even for people with minimal technical skills. | Makes the editing process accessible to everyone, regardless of expertise. | Easily crop and adjust your photo without complex software. | Allows anyone to edit their photo with minimal effort. |
| Ensures Compliance | The editor provides a step-by-step guide to make sure your photo adheres to all requirements, reducing the chances of rejection. | Ensures your photo will be compliant with the Department of State guidelines. | Visual prompts showing correct head position and background color. | Helps ensure your application won’t face delays due to photo issues. |
Step-by-Step Guide to Editing a US Visa Photo
When preparing your photo for a US visa application, editing it properly is crucial to meet the strict guidelines set by the US Department of State. The following step-by-step guide will walk you through the process of editing your photo using a US visa photo editor to ensure it meets all the requirements.
The first step in the editing process is to choose a photo that is close to the required standards. Ideally, you should select a photo that has good lighting, is taken against a plain background, and features a neutral expression. The better the original photo, the less work you will need to do in the editing software. However, if the photo you’ve chosen isn’t perfect, don’t worry! You can easily adjust it using the editor.
The next step is to crop the image to the correct size. A US visa photo must be 2 x 2 inches (51 x 51 mm). In addition to resizing the image, it’s important to position your head properly. The photo editor will usually have an automatic cropping tool that helps you position your head within the frame correctly. Your head should cover between 50% and 69% of the photo’s height, and your eyes should be placed between 1 1/8 inches and 1 3/8 inches from the bottom of the photo.
After cropping, the background needs to be adjusted. US visa photos require a plain white or off-white background, so if your original photo has a distracting background, you’ll need to replace it. Most photo editors provide a tool that can remove the existing background and replace it with a clean, white background. It’s important to make sure that the edges around your head are smooth and free of any distractions.
Common Mistakes to Avoid When Editing a US Visa Photo
When editing your US visa photo, it’s essential to avoid certain mistakes that could lead to the rejection of your application. Here’s a detailed list of common errors to be cautious of:
- Incorrect Head Size
Ensure that your head occupies the correct proportion of the photo. The head should cover between 50% and 69% of the photo’s height. If your head is too small or too large, the photo may be rejected. - Poor Lighting
Make sure there are no shadows, glares, or reflections on your face. A well-lit, evenly lit photo is crucial for clarity. Shadows or uneven lighting could cause parts of your face to be obscured, resulting in rejection. - Wrong Background
The background must be plain white or off-white. Using a background with colors, patterns, or distractions can lead to your photo being disqualified. It’s vital to use an editor to replace or adjust the background to meet these requirements. - Excessive Editing
While it’s important to make adjustments to meet the requirements, be cautious not to over-edit the photo. Avoid altering your facial features, adding excessive makeup, or changing your appearance drastically. The photo should be an accurate representation of your face as it appears in real life. - Wearing Glasses (When Not Medically Necessary)
Glasses are not allowed in US visa photos unless they are medically necessary. If you’re wearing glasses in the photo, remove them before submission, or use the editor to digitally remove them. - Inappropriate Clothing or Headwear
Wearing uniforms, camouflage clothing, or hats (unless for religious reasons) can cause issues with your visa photo. Avoid wearing head coverings that obscure your face unless it’s for religious purposes, in which case both ears and the face from chin to forehead should be visible. - Improper Head Position
Your head should be positioned straight and centered in the frame. Avoid tilting your head or looking down or up. The editor can help align the head properly, ensuring it’s in the correct position. - Incorrect Eye Position
Your eyes should be positioned between 1 1/8 inches and 1 3/8 inches from the bottom of the photo. Ensure your eyes are fully visible and open. Any obstruction or squinting could result in rejection.
What to Do If Your US Visa Photo Gets Rejected
| Action | Description | Common Issues | Tools You Can Use | Important Notes |
| Review the rejection notice | Carefully read the notice to understand why your photo was rejected. | Incorrect background, wrong head size, lighting | US visa photo editor or guidelines | The rejection notice will specify the exact problem with your photo. |
| Make the necessary adjustments | Use the photo editor to adjust the photo according to the specifications. | Head size, background color, facial expression | Photo cropping tool, background removal | Make sure the photo meets all the size and quality requirements. |
| Resubmit the corrected photo | Once you have made the necessary adjustments, upload the corrected photo. | File size too large, wrong format, low quality | File compression tool, editor’s save function | Ensure your corrected photo is in the proper format (JPEG) and within the file size limit (240 KB). |
| Verify photo meets all standards | Double-check the photo after editing to ensure it adheres to all the guidelines. | Head position, lighting issues, background | Photo editing tools, guidelines | Use an automatic checker if available to ensure accuracy. |
| Seek professional help if necessary | If you’re unsure, consider consulting a professional photographer or visa photo service. | Complex photo issues like lighting or positioning | Professional editing services | This can help ensure that your photo adheres to every requirement. |
Best US Visa Photo Editing Software
When it comes to editing your US visa photo, using the right software can make all the difference in ensuring your photo meets all the necessary requirements. There are various online tools and software available, both free and paid, to assist you in this process. These tools make it much easier to crop, adjust, and perfect your photo to meet the standards set by the US Department of State.
One popular option is IDPhoto4You, a free online tool that automatically resizes and formats your photo to fit the US visa specifications. It’s simple to use and provides immediate feedback, making it ideal for those who want a quick solution without dealing with complex software. This tool ensures that the background is plain and white, the head is properly sized, and all the measurements are correct.
Another great free option is the Visa Photo Tool. This tool allows you to crop and adjust your photo with ease. It guides you through the process step by step, ensuring that all the crucial details like head position, background, and facial expression are in line with the requirements. It’s perfect for beginners who need to make simple adjustments without spending too much time on the process.
For those who require more advanced features, Passport Photo Maker is an excellent paid choice. It offers a broader range of editing options, including color correction, lighting adjustments, and fine-tuning the background. While it may come with a cost, it provides greater flexibility and precision for users who need to make detailed adjustments or edit photos for different documents beyond just US visas.